Showing posts with label bags. Show all posts

March 6, 2013

yet another lickety split bag

I finally finished a bag I promised long ago to my friend, Molly. I really talked up my Lickety Split Bag as the best diaper bag ever. Even though she doesn't need a diaper bag anymore, she was interested in this bag's cross-body styling and fun look.


I am in love with this fabric, and I am delighting in the fact that I have enough left over to make something else (very small) with it. Fabric is Moda Mod Century Gray Asian Mobile.


I chose to use a button closure so that Molly could make this bag reversible. I've been waiting for something this perfect to use these super fun vintage buttons for.


The Moda Mod Century Pod Dots is featured when reversed - it is hard to choose a favorite here. This bag is also the larger version like I made here. One more change I made: Molly wanted her straps a bit longer, so I lengthened them 6 inches. The opening of the bag hangs just at her hip, which is just what she wanted.
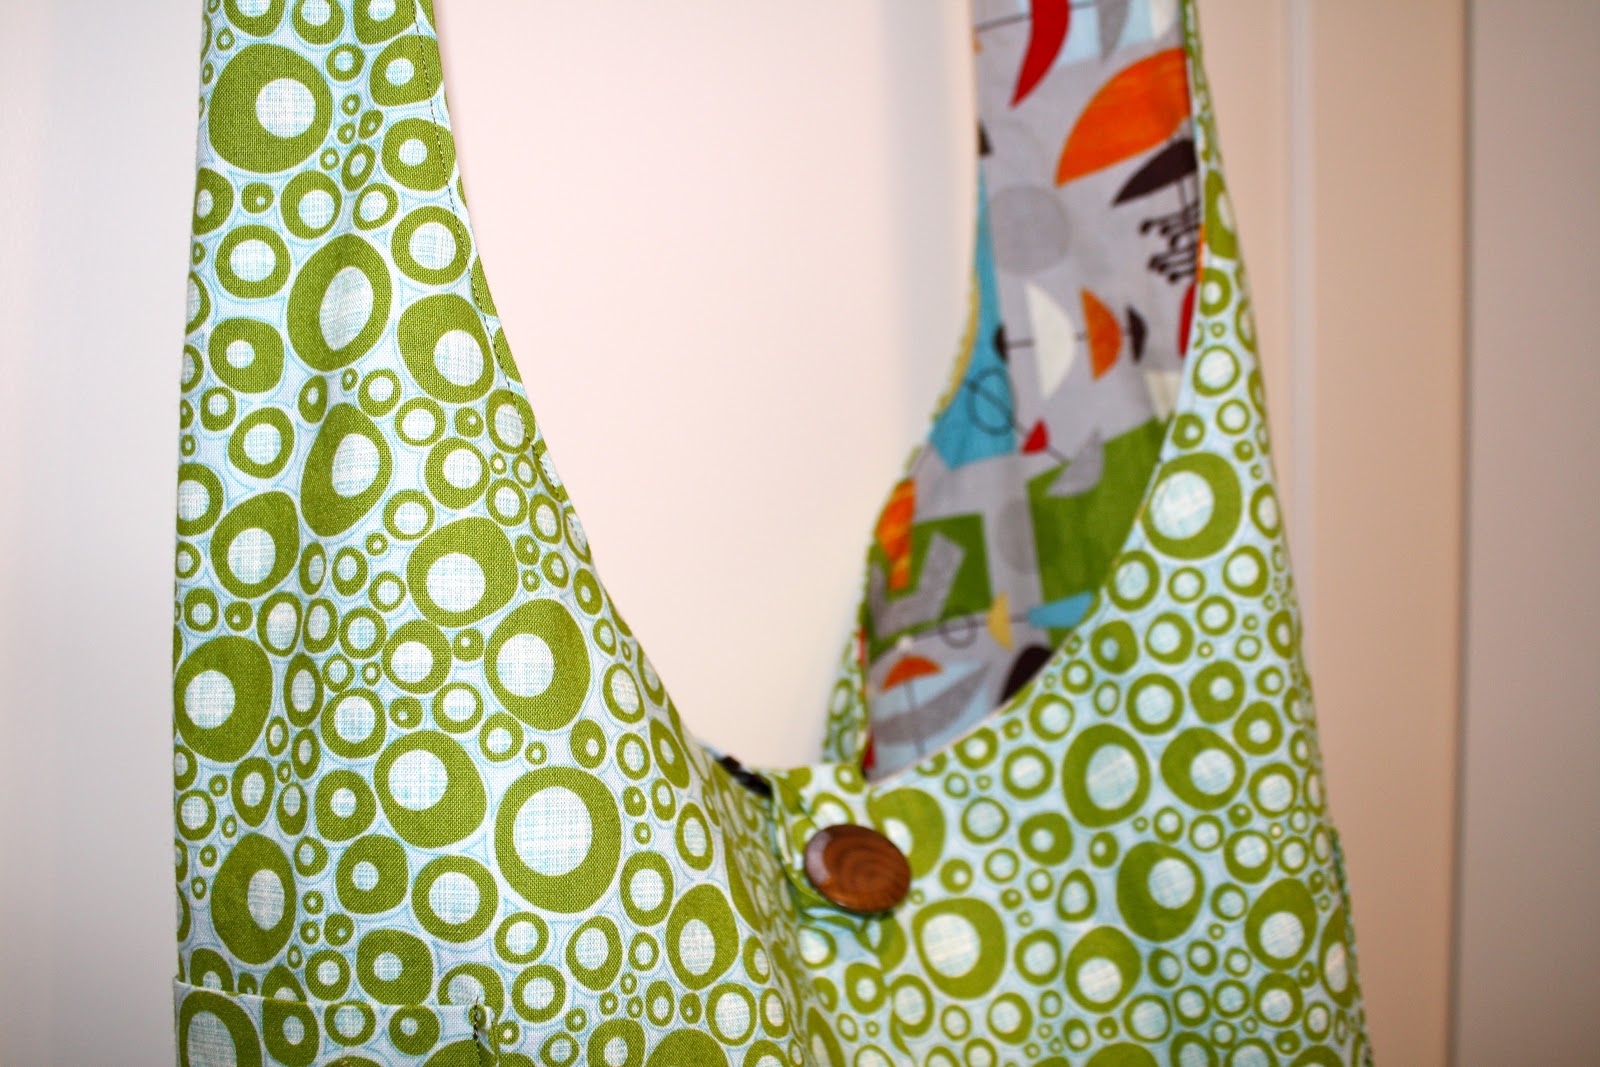

I kind of want to make a new one of these puppies for myself, even though I love the one I am carrying now. I'm the first one to admit it - I have a bag addiction, and I tire of the same old bag quickly and easily. But, this bag is so fabulous... and the fabric combinations are never ending! A magnetic snap closure would rock. Maybe I'll try that next.

:) Shelly

January 29, 2013

little backpacks

I made some little corduroy backpacks for a friend's two little cuties. 


I used MADE's Hobo Sack pattern to make the basic bag, then added a pocket, straps, and letter applique to finish the backpack (kind of like the ones I made here and here).


Marcus was a bit annoyed that he had to model the girl's backpack. However, a morning piece of Pez helped him improve his attitude about it. Candy bribery: terrible, but very effective.


I was super happy with how the packs came out. One afterthought was to make the straps adjustable. I used a loop near the bottom of each side seam to loop the straps through and sew them together. However, in the future I'll probably just tie the straps to the loop with a good knot - then the straps can be adjusted for length as the child gets bigger (or wears a big puffy coat in the winter).

Here's where I plug my friend's business because she is super cool and very talented...

Mamas With Cameras

So if you are in Seattle, you should check it out. I plan to. Because, obviously she did not take these photos of her kids' backpacks! I definitely need some help with my SLR!!

:) Shelly

January 4, 2013

another lickety split bag

This is actually the first Lickety Split Bag I made from Made By Rae's delightful pdf pattern. It's funny because usually I stick to the basic pattern the first time around, but when I made this bag I decided to use piping and a button loop. The bag was a bit smaller than I originally anticipated, but it still seemed the perfect size for my SIL, Amy. She received it on Christmas and *I think* she liked it. After I finished it, I worried that it was a little bit too busy for her.


Both fabrics are from JoAnn's. The darker purple print works a lot better for this bag because of its non-directional print. You'll see what I mean in the next photo...


Lining up print has never been a strength of mine, and though the piping helps, it still bothers me that the rows of flowers don't match up at the seam in the middle of the bag.


The Lickety Split Bag I made for myself has quickly become my all-time favorite bag. And that's say'n something because I've been on a continuous search for the perfect diaper bag for over six years now. If I make another for myself I will probably use a solid fabric for the outside, or maybe even use a solid and a print so that half the bag is solid (corduroy?) and half is print - that would look kind of cool, right? Hmmm.

I have a few projects in various stages of progress right now. I'll be back soon!

:) Shelly

December 22, 2012

lickety split bag

I didn't sew many Christmas projects this year. Okay, I only sewed one. I was kind of bummed with myself about that, but I had to be realistic about my time. I just got back from the Caribbean (I know, poor me), and I wasn't at all prepared for Christmas before leaving. I did make one present for one special family member... then I made something for myself. Is that terribly selfish of me? Tough beans.


A while ago I purchased Made By Rae's Lickety Split Bag pattern. The pattern is super easy and well-written (it even includes a "cheat sheet" with pictorial directions!). I made one as a gift (to be shown after Christmas!), then I did a little tweaking to the pattern and made this one for myself. This bag came together quickly and was a very satisfying project!


I lengthened the pattern by attaching another main bag pattern piece in order to make it a "taller" bag. I need a little more room for all my stuff. I also decided to match the pockets on the outside and inside of the bag (the pockets are supposed to be contrasting - outer with lining fabric on the outside, lining with outer fabric pockets on the inside).


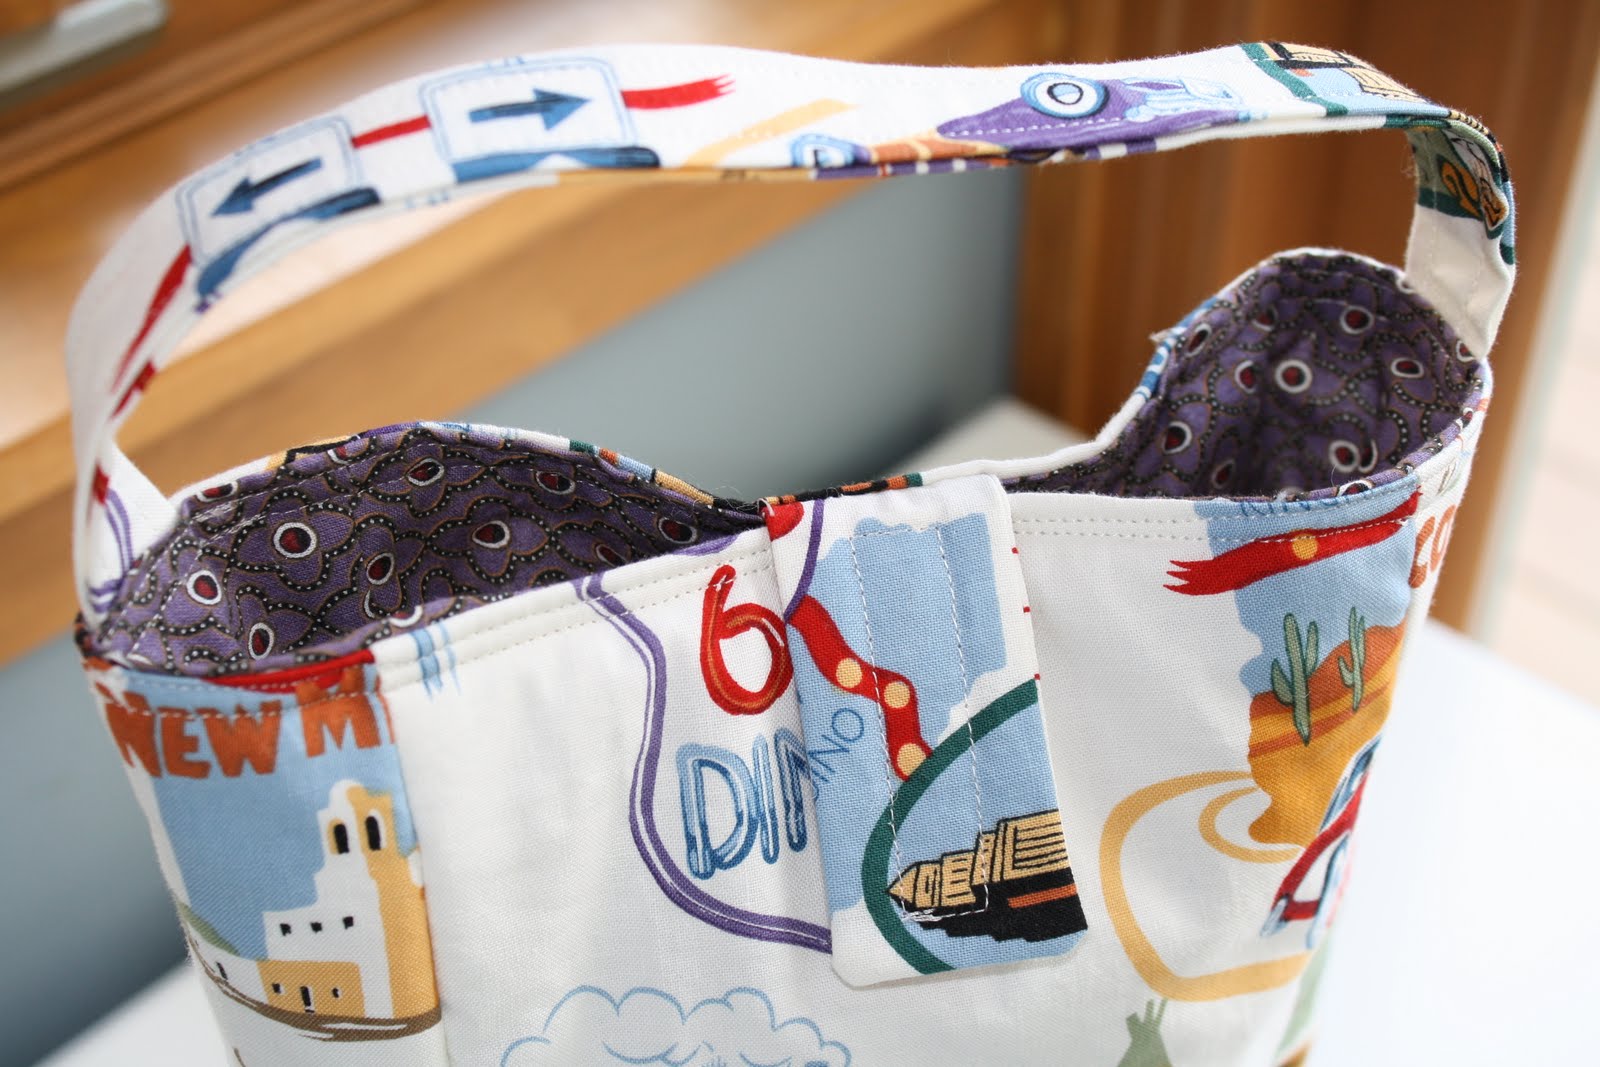
I also added a velcro tab closure. I should have used a magnetic snap, but velcro is easier and I was lazy. The bag is intended to be reversible, which is a great feature. However, adding this type of closure makes it irreversible. That was okay with me, though - because I don't plan on ever reversing it.


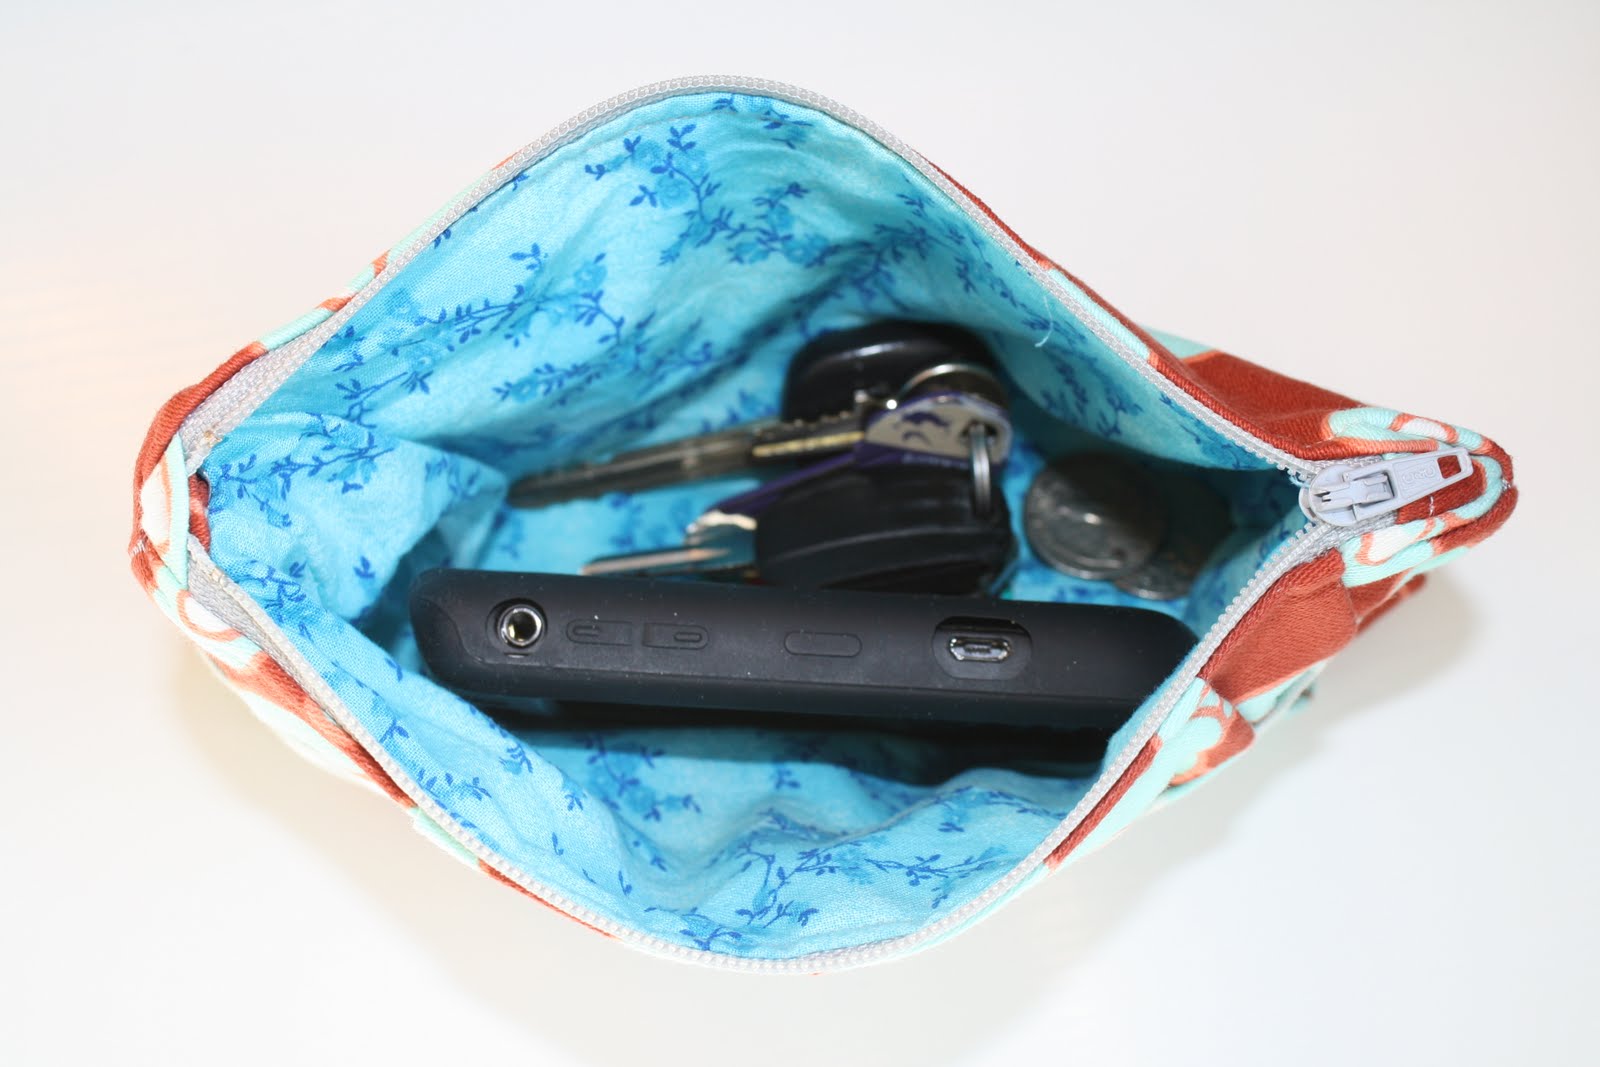
The pockets are wonderful on this bag. The outside pockets keep my keys and phone handy, and the inside pockets organize my essentials. The strap is awesome, too. It just ties together at the top, so I can lengthen it or shorten it, depending on whether I want a cross-body bag or a slouchy purse. I just love this fabric, even though it is EVERYWHERE. I'm sure you've seen it. I used it to make this apron for my friend, JoAnn, (in fact I used this same fabric combination). I think the brown floral is an Alexander Henry print, but I don't remember which one. The blue is just from the quilting cottons wall at JoAnn's.

One of my New Year's Resolutions is to sew more. It is therapy in its most enjoyable form. So, there will be more to come soon. Until then... Happy Holidays!

:) Shelly

July 13, 2012

to market, to market bag

Happy summer vacation! I hope you are all enjoying yours as much as we are loving ours. We just got back from Chicago where it was so, so hot. I loved seeing everyone there, but my body was relieved to return to the milder climate of the PNW. Anyways, here is a bag I made for Charlie's kindergarten teacher as an end-of-year gift.


It is a reversible tote made with this tutorial from Film in the Fridge.


I used that great bird print from IKEA that I had left over from a previous project, and I found this beautiful fan print fabric in my stash. Not sure what I originally purchased this for, but it matched the bird print perfectly!

More soon, I promise! Back to the sun!

:) Shelly

February 8, 2012

laminated cotton messenger bag

Only about 1.5 weeks to go until my due date, and I've finished another project! I made this laminated cotton messenger bag using this tutorial from Sew Can Do.


I would be fibbing if I said this was an easy bag for me to make. I've made messenger bags before, and this tutorial is very easy to follow. However, I had some trouble with the laminated cotton, a fabric I've never worked with before. I bought this Riley Blake Sugar and Spice fabric from fabric.com. I should have read up a little bit on using laminated cotton. I also should have bought a little extra fabric than what was recommended in the tutorial - this is because I messed up on some of my cutting and because about 2 inches on the sides of the laminated cotton was not laminated! I was slightly annoyed about that!


I originally had a pretty green floral from the same Riley Blake line for the lining, but my pregnant brain got the best of me and I cut my pieces out wrong, ending up short on fabric. So, I picked up this pretty blue dot by Heidi Grace at JoAnn Fabrics instead. I actually ended up liking it better. This bag is HUGE. I'm not even close to filling it up (yet). I have a diaper/wipes case, a wet bag with spare baby clothes and spare pants and undies for Marcus, a nursing cover, and diapers in there so far and there is so much room left!


It has nice side pockets, and the laminated cotton is very soft and supple... so it collapses a bit when it is not full. I actually like that feature because the bag hugs the side of my body instead of sticking out like a big box with a strap.


Speaking of the strap, I was not so sure about the shape of this strap when I first cut it out. But, it totally worked when I put on the bag. It is very comfortable to carry. All and all, I like the bag. I'm sure the roominess will be great for the first few months with baby, and then I can downsize to the other bag I made.

I started baby's quilt last night. That will (hopefully) be my last project and will keep me busy while I wait for her arrival. This will be my first quilt ever, and so far I'm loving the process!

:) Shelly

January 25, 2012

diaper bag

I've been having a hard time sleeping lately (go figure!). So, I've been doing a little more reading and some late night sewing to wind myself down at night. About a week ago I dug some Joel Dewberry Ginseng fabric out of my fabric bin and made a Burdastyle Charlie Bag (see tutorial here). 


I cut the fabric out on one sleepless evening and sewed it up the following Saturday while Marcus took a rare afternoon nap. I had thought I'd use this as my new diaper bag, and I'm sure I will someday... but the practicality of such a bag with two kids and a newborn seems a little dubious.


I really like how this bag turned out, and I think it is plenty big for two kiddos and a baby. However, the strap style doesn't seem like it will work when I am wearing a baby carrier (which will most likely be often). Adding a long, cross-body strap would've been a good idea, but I don't think it would look right with this bag, anyways.


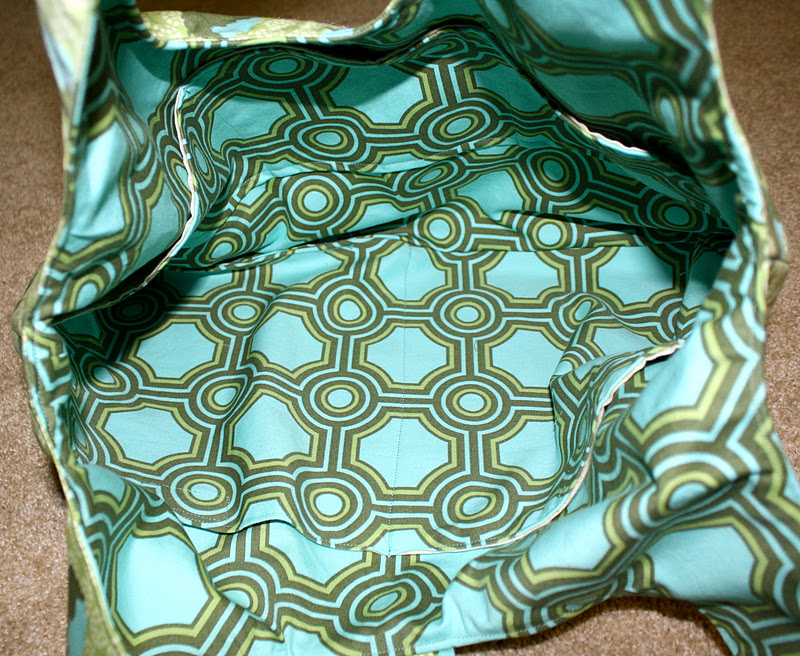
I am terrible at taking pictures of the insides of bags, but I threw this one in to the post to show you the pockets I put in (much better than the last Charlie Bag I made). There are two large pockets with velcro closures on one side (for diapers, snacks, spare clothes, etc.) and three smaller pockets (for keys, cell phone, etc.) on the other. I also added a velcro tab closure on the top and made my straps about 2" longer than the pattern suggests.

So, when I'm ready for a non-diaper-bag-looking diaper bag, I'm all set. And yes, I've already ordered the fabric to make a messenger style diaper bag. I think with 3+ weeks left of sleepless nights, I'll have plenty of time to finish it.

:) Shelly

July 17, 2011

auction totes

I finally finished the totes for the Bo M. Karlsson Foundation auction next month. I was cutting it close, too - I need to hand them over at an auction planning meeting tomorrow evening! Whew! I have many excuses for neglecting my sewing machine and pile of sewing projects lately - the main one is the fact that we are moving in two weeks and I am overwhelmed with packing. It has been a dreary summer in Seattle, though, and working on these bags yesterday really cheered me up. So, I should make more time for my hobby. More time... I need some of that!


Anyways, here is the first tote. These totes are just like the one I made for my mom for Mother's Day. The bottom panel and clasp are made from denim and the main panel and lining are cotton. I'd been eyeing this black and white Heidi Grace material at JoAnn's for a long time.


I tried to incorporate some notions that reminded me of Nepal (since that is what the fundraiser is all about!), and though this button is not necessarily from Nepal, the design kind of reminded me of handcrafted items I've seen from the country.


The combination of the black and white fabric with the gold fabric is wonderful. Thank you to Anna who found this lining fabric!


Sorry about the poor photo editing here - I totally cut off the bottom of the bag! But, I'm too lazy to snap another photo. Its funny - I wasn't too jazzed about this material, but when it all came together, I actually like this bag better than the first one!


I really like the button closure on these bags. Though they are not practical for every bag, I think they are great for tote bags like these when used for carrying books, knitting, and whatnot.


And this one is lined with a purple polka-dot. I am excited to turn these in tomorrow night, and I'm even more excited to attend and help out at the auction in August!

:) Shelly

June 17, 2011

auction preparations

Things have been crazy-busy for me lately, but I am working on a new project. I'm making a couple of bags like the one I made for my mom. I am making these bags as auction items for Bo M. Karrlson Foundation this August.


So far all I've done is choose the fabrics. Anna and I spent our Thursday Night Sewing Club at the fabric store (and at Baskin Robbins) last night since we both had no projects to work on (yet). It was fun to have a night out on the town, even if we were both home by 9pm.

The Bo M. Karlsson Foundation is a wonderful charity that provides funding for women in Nepal to seek higher education. Chris and I worked for this non-profit for several years, and though we are taking some time off, we are still helping out with the Foundation's huge fundraiser event: The fourth annual Mahilaa Night. This year it will take place on the evening of August 13th at the Youngstown Cultural Arts Center. It is a fantastic social event of Nepali food, performances, and an excellent silent auction. If you are local and would like an invitation, please contact me.

:) Shelly

May 7, 2011

spring tote for mom

Happy Mother's Day! I was so happy to finish this spring tote bag for my mom in time for Mother's Day. She received it today, and it sounded like she really liked it!


I also just bought myself an (early) Mother's Day present - Lisa Lam's The Bag Making Bible. It is a fabulous book! There are some great patterns in it, but the best part about it is the techniques she details in the book. I made this bag using The Versatile Book Bag section.


I added a button closure using the directions from The Reversible Bucket Bag pattern, which is one of the included patterns (and very cute - I want to make that bag, too!).


With such dark denim (and a sub-par photo), it is difficult to spot the 1.5" flat bottom I added to this bag. I really liked how this turned out, though - the flat bottom gave the bag a nice shape. I lined the bag with a small, subtle, light blue floral print and made one divided patch pocket for smaller essentials.


It is hard to say which is the star of the show - the floral or the button?! The fabric is Heidi Grace Daydream. I couldn't resist the Spring in that fabric! I had originally purchased a little orange flower button to use on the bag, but it was a little bit too small - and probably too much flower. This vintage orange button has been hanging out in my sewing cabinet for a while, just waiting for the right application. I was a little sad to see it go, but happy it was going to my mom. It is perfect for the bag!

Happy Mother's Day, Mom! You are the best! I can't wait to see you soon!

:) Shelly

April 12, 2011

folklore bag

Thursday Night Sewing Club is so much fun. Sure, there are only two members of this club: me and my friend, Anna. But, we have enough fun for a whole gaggle of seamstresses. Last Thursday we finished our Folklore Bags from One Yard Wonders. Ridiculous as this seems, it took us over two months to finish these up. I blame it on too much talking and probably too much wine.

I was very happy with how my bag turned out. I've been waiting to use this Joel Dewberry fabric for a while now (this is from the Ginseng collection).

The lining is actually my favorite part (though it is a little bit baggy). I think this is Moda fabric, but I can't remember.

So here is where I admit that sewing this bag wasn't all butterflies and rainbows for me. I think I am actually the one who talks too much (and probably the one who drinks too much wine) during Thursday Night Sewing Club. The evidence is clear: I attached my strap onto the wrong side of my pleat, didn't notice, and proceeded to sew my entire bag together! I took it home, proud as a peacock, only to discover the big mistake the next morning. Good grief! I had to rip the top stitching out, rip my handle out, and resew it all. I confessed about it to Anna via email and she didn't believe me. (Yep, it's true, dude).

In all seriousness, the pattern was a little bit strange, but the product is great. It is a perfectly sized handbag, and the pleats and contoured band give it that extra flair. I'm sure I'll want to make this again. I wish I could show you Anna's bag because it is super cute. Maybe she'll send me a photo to post?

:) Shelly


April 10, 2011

a monk bag for emma

Our very favorite babysitter, Emma, was back from California for her spring break, and she had a birthday while she was visiting! So, I made her this bag using this tutorial from The Purl Bee.

I thought it would be a perfect Spring bag for Emma who loves purple and hauls her books all around her college campus.

I was really happy that I had made this practice monk bag (which I use all the time, despite its many sewing imperfections) because Emma's bag came out so much better as a result! I also used heavier-weight materials this time for the outside of the bag (purple corduroy and the black floral decorator fabric - both from JoAnn's).

It is hard to see in these dim pictures, but the green polka-dot lining really *pops* with the purple. Can you tell from my vocabulary that I have been watching way too many HGTV design shows?

Anyways, Happy Birthday, Emma! Can't wait until you are back this summer!

:) Shelly

PS - I never heard back from the winner of the apron contest. Since it's been over two weeks, I decided to draw a new winner using the random number generator. The winner is commenter #4, Elizabeth, who said: Beautiful apron Shelly! I donated on Sunday to a group of ladies from a church with a large japanese congregation (can't remember the name). I happened to be driving through the same parking lot as Market 99 (asian market) on Aurora and stopped to give them money. It felt good to give and it also prompted Charlie to ask questions, which although hard to explain, was a great opportunity. He's really hoping that our money goes to giving new toys to children (of course much more important than food in a 4 year olds mind). Thanks for doing this!

And I know where Liz lives, so this apron will definitely get to the winner this time! :)

February 26, 2011

monk bag

I've been so busy doing everything *besides* sewing and blogging about sewing that I totally missed my one-year anniversary of this blog! It's been 13 months since I began this blog with my very first post. Hooray. Happy Birthday sewing blog!

Anyways, I did actually sew a little something yesterday. I've been wanting to make this bag from The Purl Bee as a gift for someone special, but I decided that I should do a test run first. So, here is a shot of the prototype...

The style of the bag is super cute. It is a cross-body bag, and I would have modeled it for you, but the outfit I was wearing while sewing yesterday was hideously sloppy (and I was too lazy to change). Click here to see the tutorial and a lovely picture of the pattern designer sporting her monk bag.

Both of the fabrics I used for this bag were found at JoAnn Fabrics. I actually did not purchase them together - I bought the Cot Cot Codet fabric about a year ago and the dot-stripe fabric a few weeks ago (both just random I love this fabric pattern and it's on sale! purchases). Imagine my delight when I realized the two fabrics were a perfect match! They totally begged me to become an apron, but I figured who doesn't like a chicken bag (even if I don't speak French)?

I will definitely make this bag for my special birthday friend, but I think I'll use a heavier decorator-weight fabric like Mari, the tutorial creator, uses. I will also do a better job cutting my pieces out - I did heed Mari's warning about being exact in my cutting, but I'm kind of messy when I cut. And iron. And pin. In fact, this is a good skill improvement/anti-sloppiness project. I'm also thinking of making a kid-size monk bag for each of my little guys so that they can tote their own books on our visits to the library.

:) Shelly

November 23, 2010

my non-clutch move

Almost two weeks ago I posted this and alluded to another project that was also riddled with mistakes. So, without further ado...

Exhibit B: Gathered Clutch

I made this clutch alongside my friend, Anna, using Noodlehead's Gathered Clutch Tutorial (By the way, my Anna is a different Anna than the Anna who writes Noodlehead). Anna didn't have a zipper that night, so she only finished half of her clutch and then drank a glass of wine while she watched me mess mine all up.

The tutorial is well written for the most part, but some of the directions concerning the zipper covers are a little bit confusing. The Anna from Noodlehead has actually created a pattern for this clutch, which probably explains these parts betther than the tutorial (It is awfully nice of her to leave the tutorial up when she has a pattern for this bag to sell!). The big problem I had (besides the zipper covers) was that I used a heavyweight fabric, and that just doesn't work for this bag. As you can see from the picture above, the corners are not quite right, and that made the lining bunch up at the top, too. I love this Amy Butler fabric, and still have some leftover from this project (click link and scroll all the way down).

The bag is actually smaller than what I would consider a clutch, but it would make a very cute make-up bag. I did actually use it as a clutch one night when I went out with some friends, and my necessities (cash, cards, phone, keys) did fit into it, but it seemed kind of awkward to hold. If I make this one again, I would just make it slightly larger (mostly longer), and I would definitely use a lightweight cotton fabric with interfacing so that my corners would turn out properly.

Hopefully Anna's turned out better than mine did! Get crack'n, Anna! It's not like you are planning a Thanksgiving dinner for a zillion people or anything!

September 21, 2010

pre-k lunch sack

Today was Charlie's first day of pre-kindergarten class at his preschool. I dropped him off with a packed lunch and a book for show-and-tell, and he was all smiles about what the afternoon had in store for him. In preparation for his big first day today, I made him a reusable lunch sack. He was quite delighted with his new preschool accessory!

I used a tutorial found here at Tumbling Blocks to start out. I followed the tutorial to make the shape of the bag, but I decided against Tumbling Block's roll-over closure, in favor of a more Charlie-friendly velcro tab closure. I also added a strap to Charlie's bag.

It is fairly commodious.

And I was able to use up some leftover fabric from two other projects, a scrappy clutch and a cozy car caddy! I thought about using vinyl or oil cloth, but it just seemed like good old cotton was safest for a food container - and it can just be tossed into the washer!

The bag even stands up well!

When I picked Charlie up from school, he reported that he had difficulty sitting still at circle time and that he got into trouble for not keeping his body to himself. However, he then told me with a big, proud smile that he ate most of the food we packed in his new lunch sack. And he said that he had fun. I'm glad about that.